

1
Log in to the Munchi Dashboard
Log in to dashboard.gomunchi.com.
2
Go to the Extras section
In the left sidebar, click Extras to open the product management area.
3
Create a new product option
To build a new option from scratch, click + Create an extra and give it a name.
Note: This name is internal and not visible to customers. Use it to help you tell options apart in the dashboard — for example, “extra toppings pizza” or “extra toppings burgers”.
4
Define your option's details
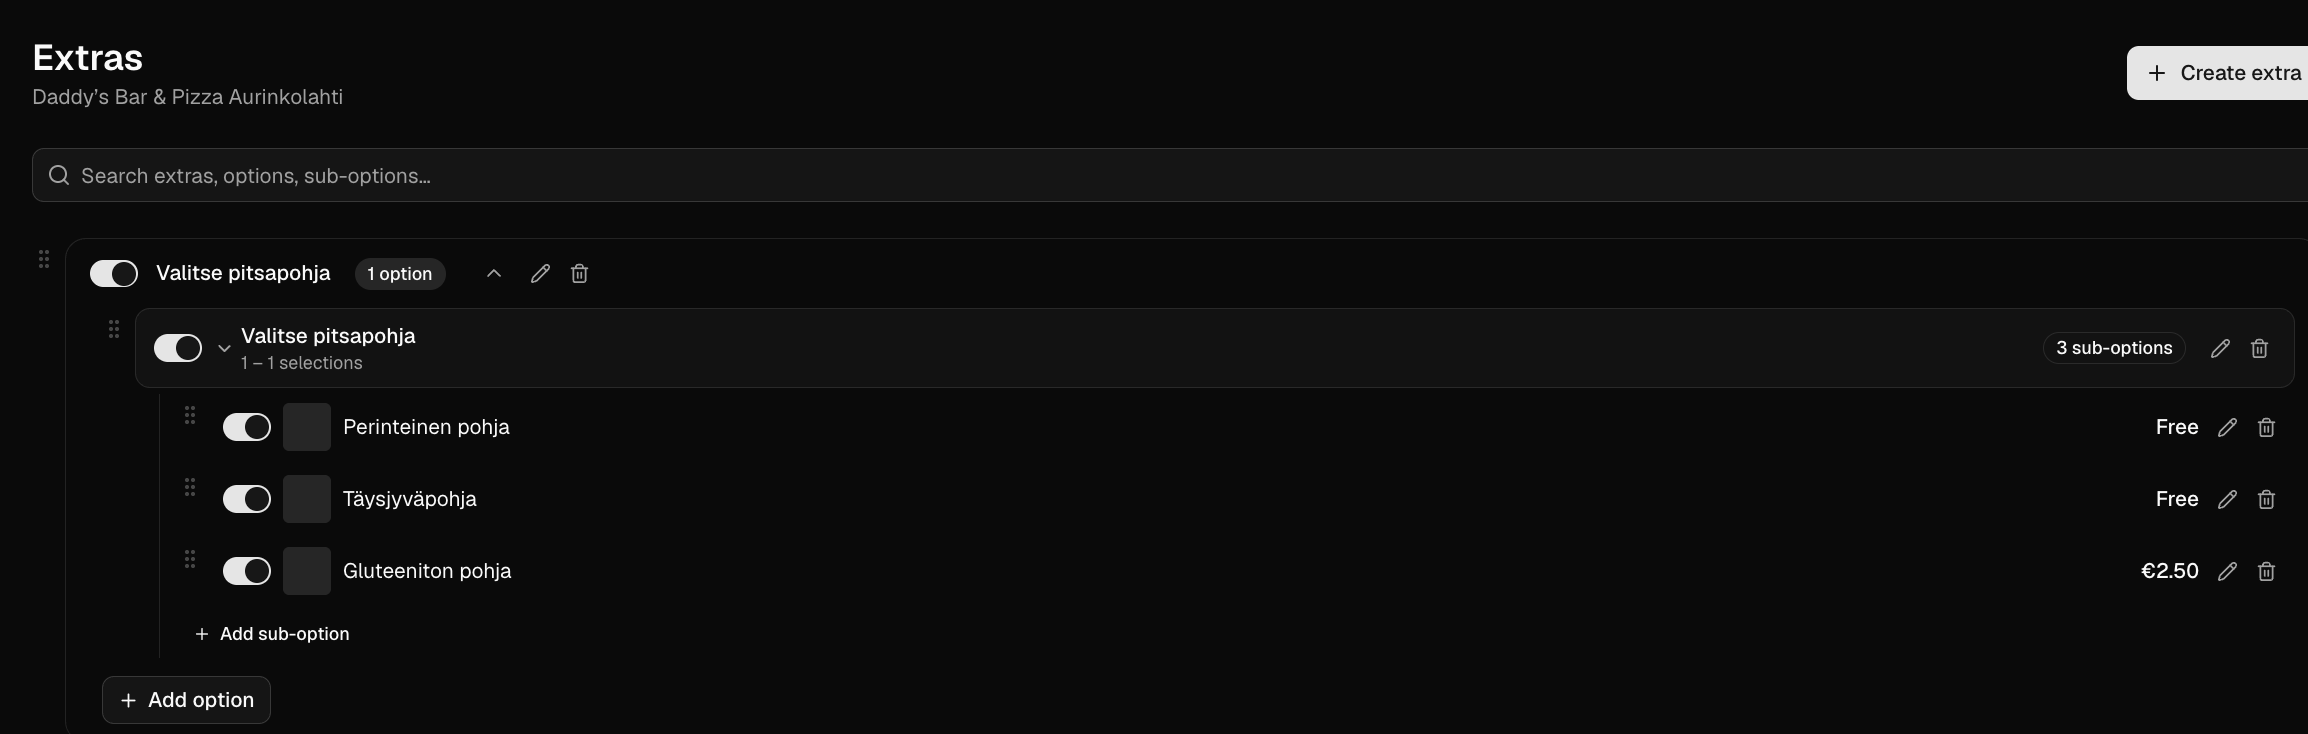
- Name visible to you — The internal label you set in the previous step.
- Name visible to customers — The label customers will see on the ordering platform. Use customer-friendly language such as “Choose one side” or “Add extras”.
- Suboptions — These are the individual choices within the option (e.g., “Extra cheese” or “Spicy”). To add a suboption, click Add suboption, type the suboption name, and click the + icon. Repeat for each choice you want to offer.
5
Confirm the option is assigned to the product
You can continue to the “How to Manage Extras in Munchi” instructions to select the created extra for the wanted products!